
Step-by-Step Guide to Creating a Custom Flag Patch at Home

Are you a travel enthusiast looking to personalize your backpack with unique symbols from around the world? Creating a custom flag patch at home is a fun and rewarding project that allows you to express your global adventures in a creative way. Whether you want to honor your travels to Myanmar, Maryland, Trinidad and Tobago, or even Fiji, this step-by-step guide will help you craft your own custom flag patches at home.
Step 1: Gather Your Materials
To get started, you'll need the following materials:
- Fabric: Choose a sturdy material like cotton or canvas.
- Embroidery thread: Select colors that match your desired flag.
- Needle: Ensure it's suitable for embroidery.
- Scissors: Precision is key for detailed work.
- Iron-on adhesive (optional): For easy attachment.
- Sewing machine (optional): For quicker production.
Step 2: Choose Your Flag Design
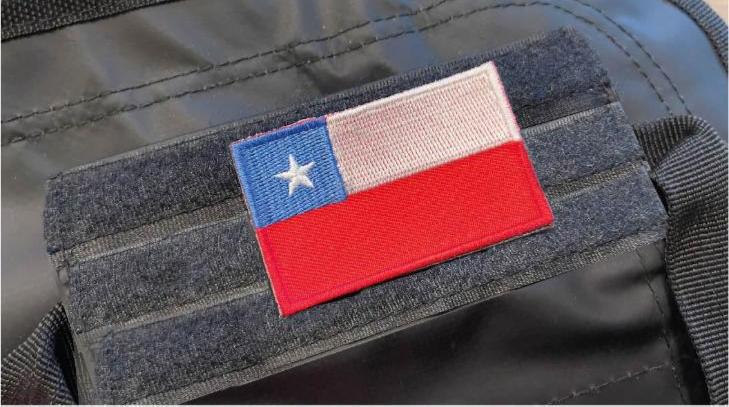
Next, decide which flag you would like to recreate. For inspiration, check out some stunning flag patches available, such as the Myanmar flag patch, the Maryland flag patch, or the Trinidad and Tobago flag patch. You can also explore designs like the Fiji flag patch for a more tropical vibe.
Step 3: Cut and Prepare the Fabric
Cut your fabric into the desired size and shape, typically a rectangle or square. Keep in mind the proportions of the actual flag you're recreating. If you're using an iron-on adhesive, follow the instructions to apply it to the back of your fabric piece.
Step 4: Transfer Your Design
Using a fabric marker or chalk, lightly sketch your flag design onto the fabric. This will serve as a guide for your embroidery.
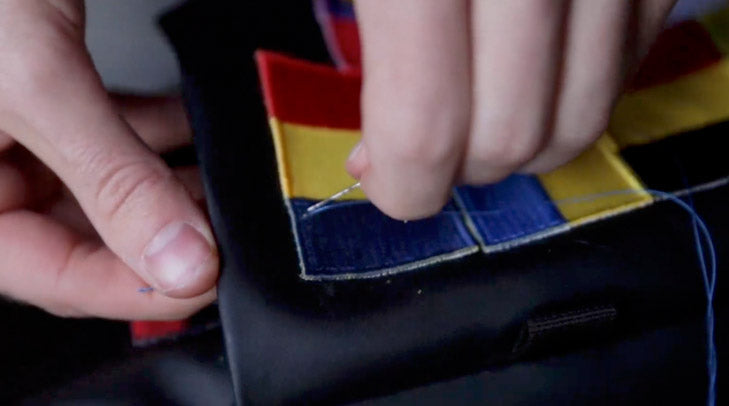
Step 5: Begin Embroidery
Start embroidering your design by threading your needle with the appropriate color. Outline your design first before filling in the larger areas. Take your time with this process, as precision will enhance the final look of your custom patch.
Step 6: Attach the Patch
Once you've completed your embroidery, trim any loose threads. If you've decided to use an iron-on adhesive, carefully iron your creation onto your desired clothing or accessory piece following the adhesive's instructions. Alternatively, sew the patch onto the fabric by hand or using a sewing machine for a more secure attachment.
Step 7: Celebrate Your Creativity
Congratulations! You've created your own custom flag patch. Now it's ready to be displayed proudly on your backpack or another favorite accessory.
For those who might prefer to buy a ready-made flag patch or need additional supplies, consider visiting BackpackFlags.com. You can also find a Gift Card (25 Euro) if you'd like to share this unique experience with friends or fellow adventurers.
Enjoy the creativity of personalizing your journeys one stitch at a time!